

Node.js, as you might already know, is one of the powerful JS frameworks out there. It is a lightweight and efficient JavaScript runtime environment that’s built on Google Chrome’s V8 engine.
Node JS was basically the first framework to bring JavaScript to the server-side. Before Node JS, JavaScript was only used for client-side scripting.
But, since Node JS’s arrival, it has dominated the backend technology space and has become the most preferred framework for building backends of different kinds of web applications.
In fact, Node JS offers so many benefits that many famous companies across the globe have adopted it in their software productions.
That being said, if you want to know in detail, what companies are using Node JS and what did they gain from it, we’ve written a separate compressive blog on it.
Once you read that article, you will know why Node JS is the most-preferred backend development framework and how Node JS can be beneficial to you in your next or existing project.
Coming back to the subject, using Node JS to build modern web apps will always require you to first install it.
This blog post will help you learn how to install Node JS on Windows as quickly as possible so that you can start building!
That being said, let’s dive right in!
How to Install Node JS on Windows
To use Node JS in your web app project, you need to install the following in your system first.
- Node JS
- Node Package Manager (NPM)
- IDE or Text Editor
Let’s begin with how to install Node JS on Windows system.
Step #1
Before you do anything, first you need to make sure that your Windows system has sufficient space and RAM (minimum 4 GB).
Step #2
The next step is to download the Node JS from its official website.
Head over to https://nodejs.org/en/download/ and download the Windows Installer and Binary file.
Once you’ve downloaded both the files, go to your downloads folder where it is saved and initiate the installation process.
Step #3
As you initiate the installation process, you’ll be prompted with Node JS installation wizard as shown in the image below.
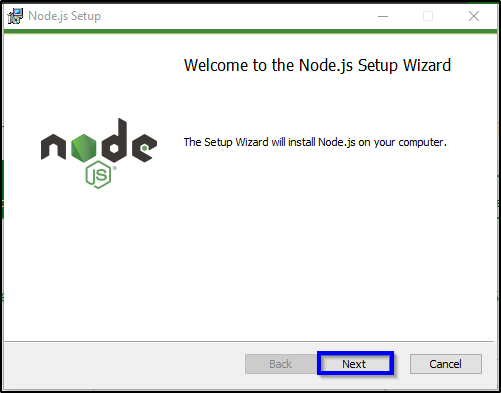
Step #4
As highlighted in the above image, click on the ‘Next’ button a few times and you will reach the End-User License Agreement page in the installation wizard.

As highlighted in the above image, click on the checkmark box that reads ‘I accept the terms in the License Agreement’ and click on the ‘Next’ button.
Step #5
In the next page, you will have an option to change the location to install Node JS to. You can either change it and keep it as it as.

Step #6
After clicking the ‘Next’ button, you will be prompted with a list of features to install.
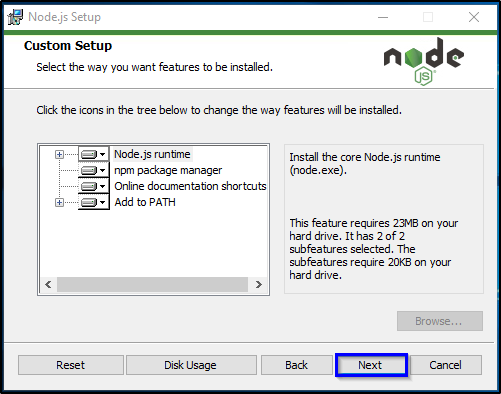
Step #7
Click on the ‘Next’ button and then click on the ‘Install’ button as highlighted in the image below.
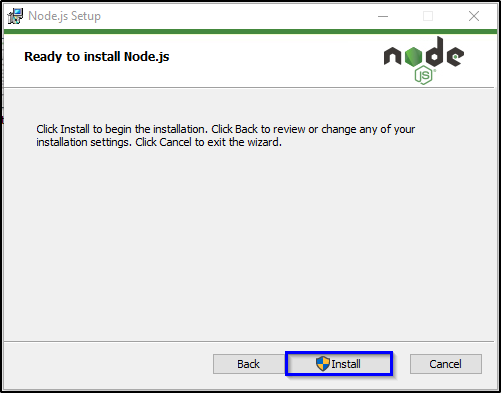
Step #8
Once the installation is finished, exit the installation wizard by clicking on the ‘Finish’ button.
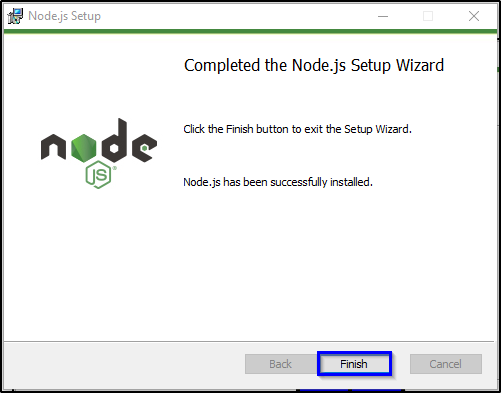
With this step, you have finally installed the main part of Node JS on your Windows system.
The next step is to install the Node Package Manager (NPM) as we discussed in the beginning.
How to Install Node Package Manager (NPM) on Windows
Node Package Manager is written in JavaScript and is the default package manager of Node JS.
The NPM basically helps to manage modules and packages required for Node JS application functioning and gives a command-line client npm.
The difference between modules and packages in Node JS is that packages bundle up the important files required for a module.
Modules, on the other hand, are also known as JavaScript libraries that are incorporated into the Node JS project for a specific purpose.
Now, as far as the NPM installation is concerned, from Node JS 0.6.3 version, the NPM automatically comes with the Node JS as the default package manager. This means you don’t need to install NPM explicitly anymore.
As for the packages, you can use install, update, and uninstall Node JS packages via npm by using the following command:
– npm install package_name
Best IDE & Text Editors for Node JS Development
Now that we are done with the Node JS and NPM installation process, your system is now finally ready and you can start writing Node JS programs.
You can write your programs either using Node JS text editors or IDEs available for free.
Here, we’ve mentioned the Best IDEs & Text Editors that you can use for writing Node JS programs.
All of the above-mentioned IDEs and Text Editors work perfectly for writing Node JS programs.
So, what are you waiting for?
Get Started!
With this, we have finally completed the Node JS installation process. We hope you find this blog useful. If you face any issues or need help of any sort, hire Node JS developer to make sure everything is done in the right manner.


Tags: